When I bought my camera--a 5x7 reisekamera circa 1890--it came with several Premo-style filmholders. For those who are unfamiliar with this type, they are made of wood, generally have a cardboard septum, can hold two pieces of film (one on either side), and have two dark slides. Mine have small, hinged pieces of wood at the bottom of each side that open up to allow film to be placed inside and when closed, their grooved upper edges secure the dark slide in place and keep it all light-tight.

This filmholder's seen the love. The black tape at the bottom forms the hinge that allows the wood end piece to swing open when the dark slide's been removed.

Here you can see the cardboard septum.

My holders had metal sheet film sheaths ("Eastman Film Sheath") inside.
The holders I got were in varying states of repair. At first, I didn't think I could use them for wet plate, but then I saw some instructions in John Coffer's manual that gave me hope. I then stumbled onto The Light Farm's tutorial for modifying this type of holder for dry plate photography and I decided to take the plunge. I followed their instructions pretty closely (you should check them too), but I did not cut away the inner side of the groove of the hinged piece (as is shown) because I am shooting on aluminum and it fits and registers PERFECTLY in the holder as is. But, if you are working with glass, you'll want to do that. Just make sure the glass will register properly or you'll have focus problems and will have ruined a holder for use with metal plates.
So, basically, what I'm going to show here is how to protect the interior of a wood filmholder from silver nitrate damage and do some minor repairs so that it can be used for wet plate tintypes/alumitypes. I should say up front that I love antiques (I'm an archaeologist!) and I had some qualms about "desecrating" these old holders, but I decided that 1) they're not that valuable or unique, 2) that the original owner(s) would probably be pleased to see their gear still valued and put to good use, and 3) I really didn't have another option because I couldn't/can't afford to have something custom-made. That said, I also decided to try and preserve the overall look of the holders and did not paint the exteriors. When I see the marks and numbers carved into them, they make me think of the previous photographer(s) and I wonder what they photographed and what their creative ambitions were--and that it is now my turn to create with the gear they used and cared for.
Stuff you're going to need:
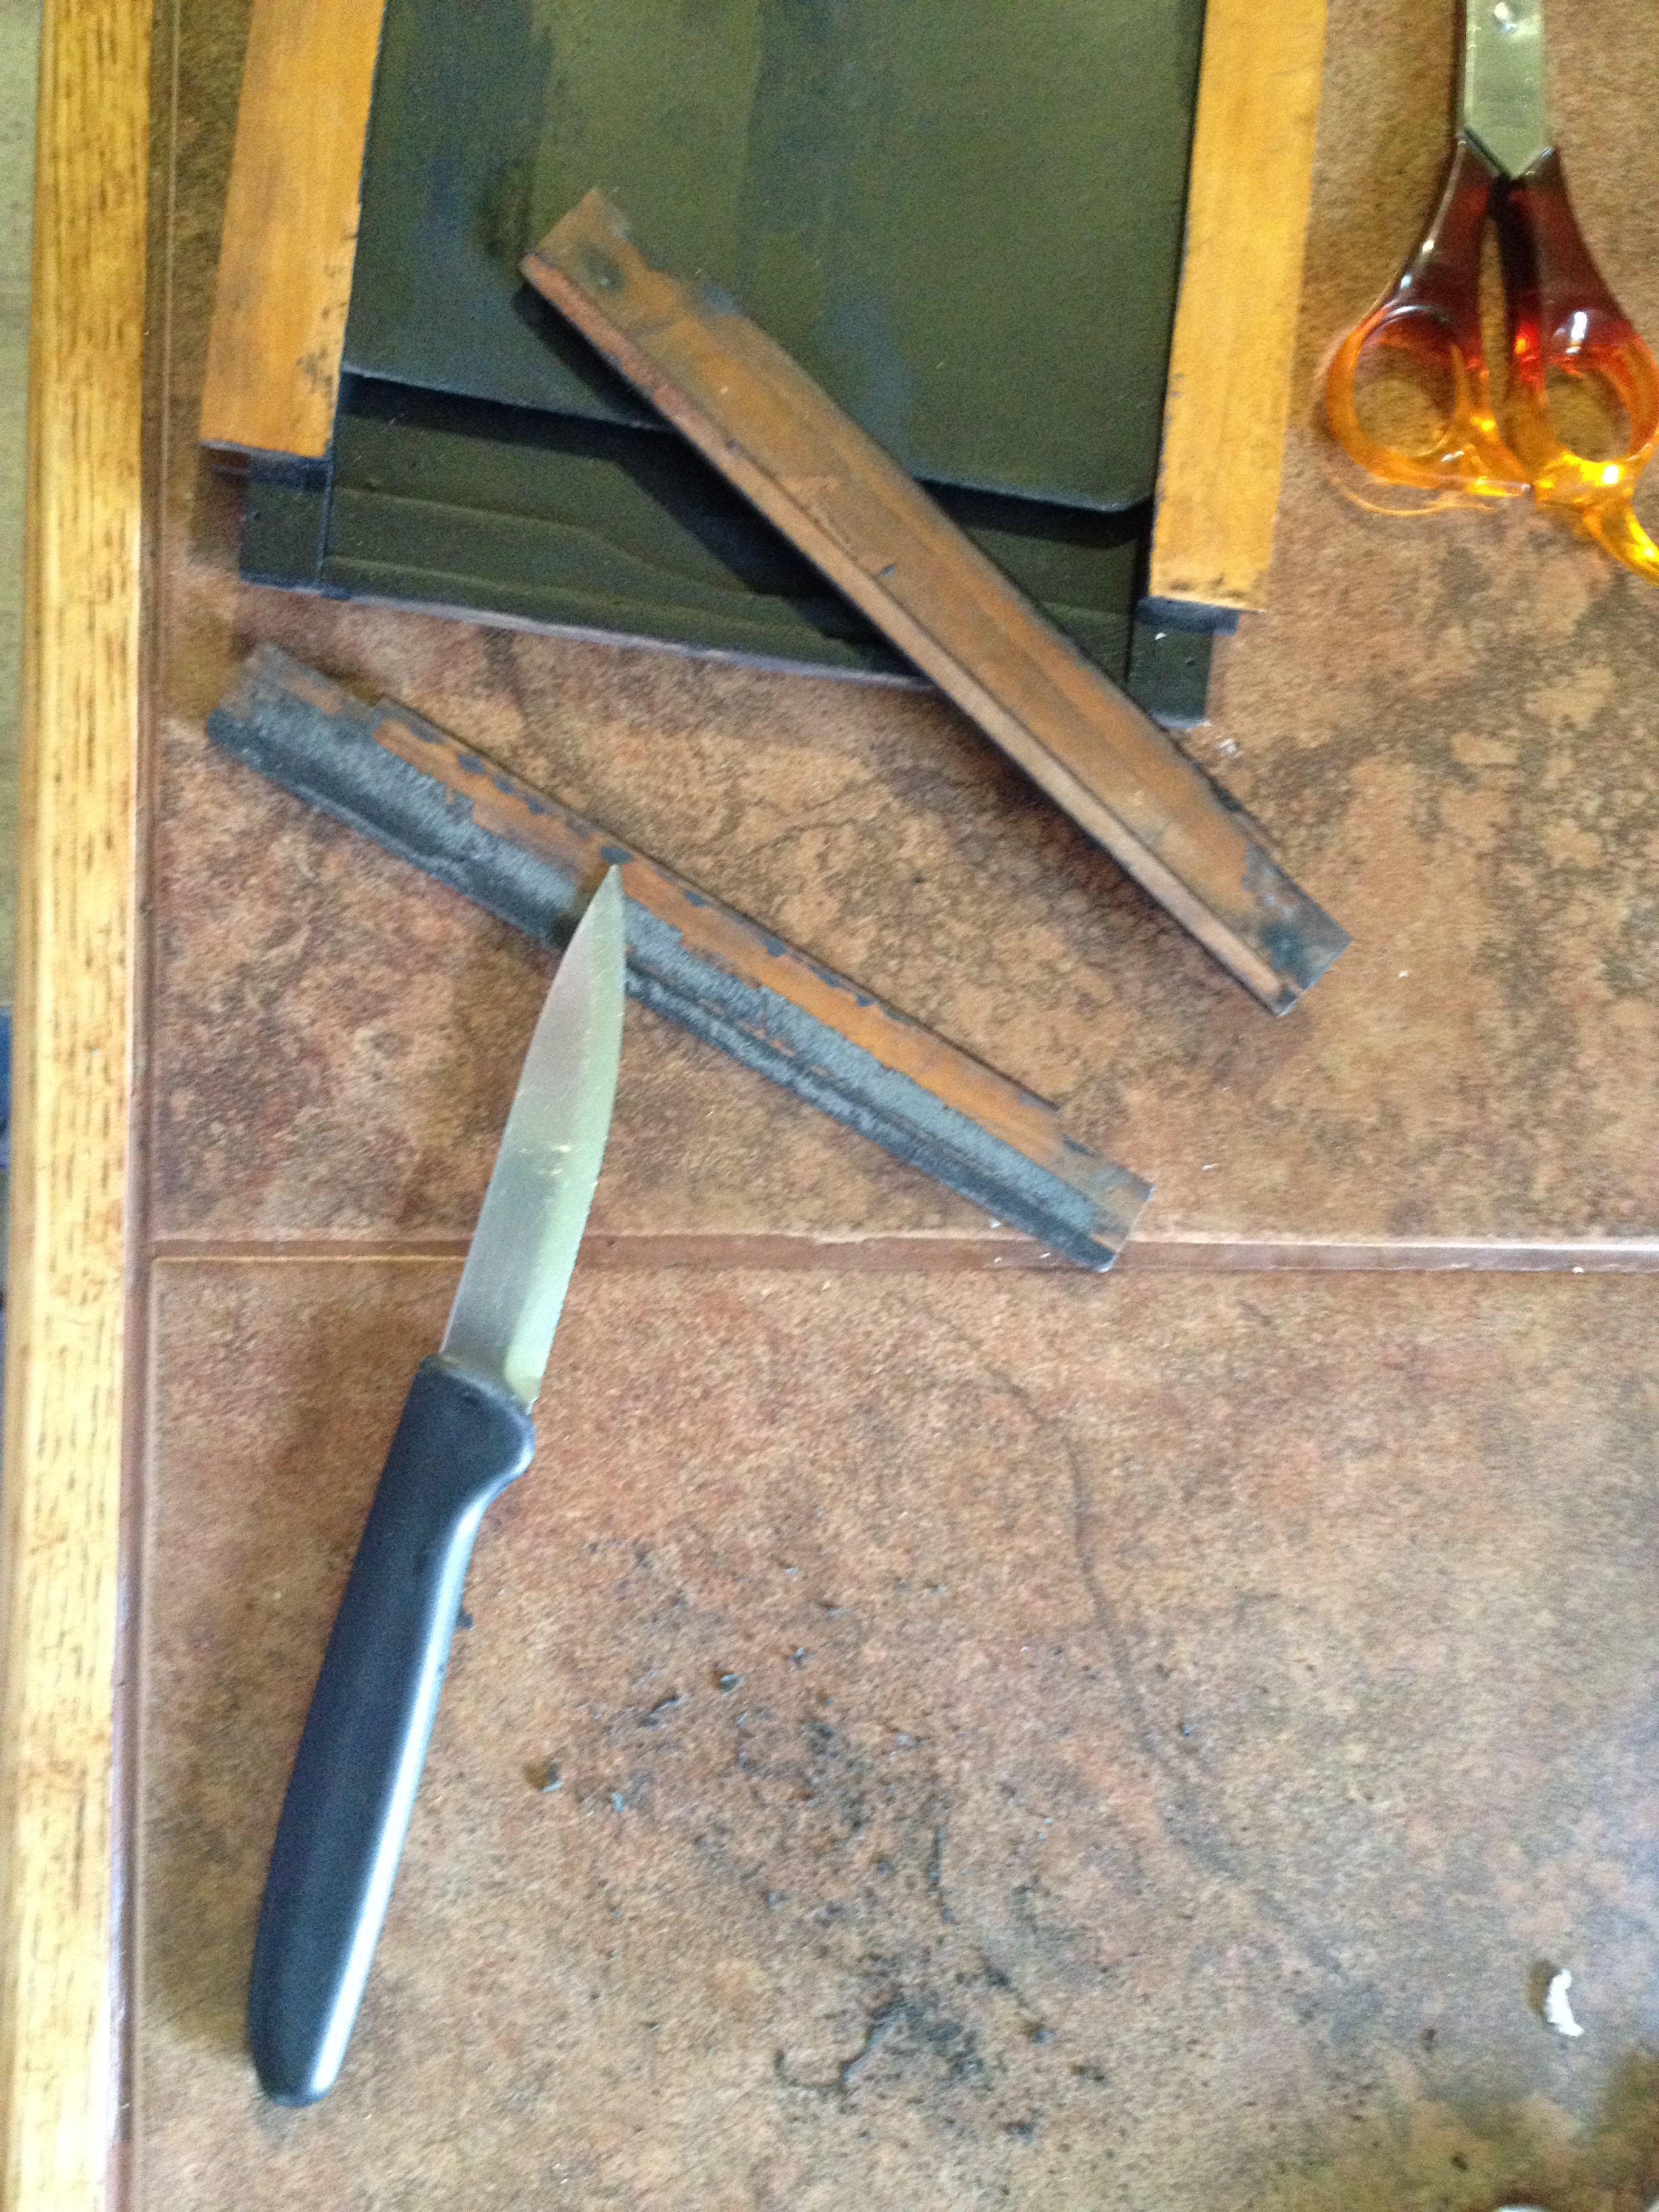
filmholder needing some attention
matte black spray paint (I used Krylon)
matte clear acrylic spray paint (I used Krylon)
masking tape
small scissors
a knife
black gaffers tape
To begin, you're going to remove the wood pieces at the bottom (just cut the tape if they haven't already come off!) and remove the dark slide. Shouldn't be dusty in there, but if it is, you'll want to wipe/blow it out. Then put masking tape on the exterior of the frame (both sides) so that paint only goes on the interior surfaces of the holder.

Use matte/flat black spray paint for the interior surfaces and matte clear acrylic spray to protect them.
Take all of the holder pieces outside and place on newspaper. Following the directions on your paint can, paint the interior surfaces of the holder (be sure to angle the can to get the paint into all the corners and especially the undercut area at the top, beneath the dark slide slot. This is where the sheet film sheaths slid in originally and where your wet plate will go when you're loading the holder (keeps the plate from falling onto the dark slide or into your camera). Also paint the interior surfaces of the two wood pieces (they are typically unfinished on that surface, and have no tape residue). If you'd like, you can also paint your dark slides, which are often pretty beat up looking; you'll want to masking tape on the grips. Use multiple light coats to get everything covered. When the first sides are finished and dry, turn over the holder and dark slides and paint the other sides. Don't paint the other side of the two wood pieces.
Read through the instructions for the clear acrylic spray--mine said to spray a coat before the black paint was completely dry. Repeating the above instructions, but substituting the clear acrylic sealant, spray all the black-painted surfaces of the pieces. I used two coats just to be sure I was protecting everything.

The holder and wood end pieces should look like this when you're done with painting and sealing.
When everything's dry, it's time to reassemble. If there's a lot of old tape residue on the exterior of the two wood pieces, you can scrape it gently with a knife. If you put a damp cloth or sponge on the tape, it'll make it easier to remove. But don't worry about getting it all off--you're going to be putting new tape over it. To reattach the wood pieces and create the hinges, I used gaffer's tape. It is a little bit thicker than the original tape, but after you put it in and pull it out of the camera several times, it compresses and works really well.
You can scrape away some of the old tape residue; notice how the tape width is different on the two pieces.
The trick to the hinge is to remember that the tape is not equally distributed on both sides of the holder--one side has the tape almost to the top of the wood piece and on the other piece, the tape barely goes past the edge, stopping at the lip that runs along the base of the holder on both sides. You can see this in the remnants of tape. I didn't notice this the first time I tried taping the hinges and the holder would not slide into the camera; I had to redo it. Assemble the plateholder, putting in the dark slides and securing them in the wood pieces. Cut a piece of tape slighter longer than the width of the holder and lay it on the wood piece with the lesser amount of tape residue, lining up the edge of the new tape with the little lip that runs along the edge; attach firmly. Next, carefully fold the tape onto the bottom edge of the holder and press into place. Finally, wrap the tape onto the other side of the holder and carefully press the tape down a little bit along the bottom edge--it's going to be too wide and you'll need to trim it to match where the original tape went. Gaffers tape rips very cleanly, so just make a little snip with scissors at the right spot and rip away the unneeded portion. Finish pressing the tape down.

The tape has been put on the first end piece and then on the base of the holder.

The tape has been wrapped around to the other side and trimmed.
Smooth and press the tape down on the wood pieces and the base of the holder so that there are no bubbles or bumps. Then, take the scissors and trim away the excess tape from the sides of the holder, making sure to keep the grooves on the sides open and clear. Now you have a plateholder! It's not going to fit smoothly into the camera at first, so be patient and gently put it in and take it out several times. It should get easier. You can also use a little wax to make it slide better if you want.

Trim away the excess tape along the grooves on each edge.

Here's what it the end of the holder should look like after you've trimmed the tape away from the grooves.
You can use either side of the holder for plates when you're shooting, but I tend to just use one side and "lock" the other with the little brass pin at the top--when it's turned over the slide, it keeps it from coming out, a little reminder not to use it. Don't forget, unlike book-type plate holders, you'll be loading this with the emulsion side of your plate up, facing towards the dark slide and when you load the holder into the camera, that side needs to be facing the camera and your subject. My favorite holder has the number 13 scratched onto one side by the previous owner, so it's easy for me to remember what side needs to be facing which direction. Someday, when I'm feeling adventurous and speedy, I'm going to try loading and exposing two plates back to back, in the same holder. Just have to sensitize them at the same time!

My favorite plate holder with lucky "13" scratched on it, also was inscribed with "5x7", and what appear to be silver nitrate stains. I love it.
As a final note, the paint and sealant will do a good job of protecting the wood and cardboard from deterioration by the silver nitrate, but remember that the holder still needs to be wiped out very conscientiously (I use a paper towel dampened with distilled water and then dried with another towel) and carefully watched and examined for signs of damage. I fully expect to repaint and seal my holders again, possibly every year or two.
Good luck and have fun with your holder rehab project!